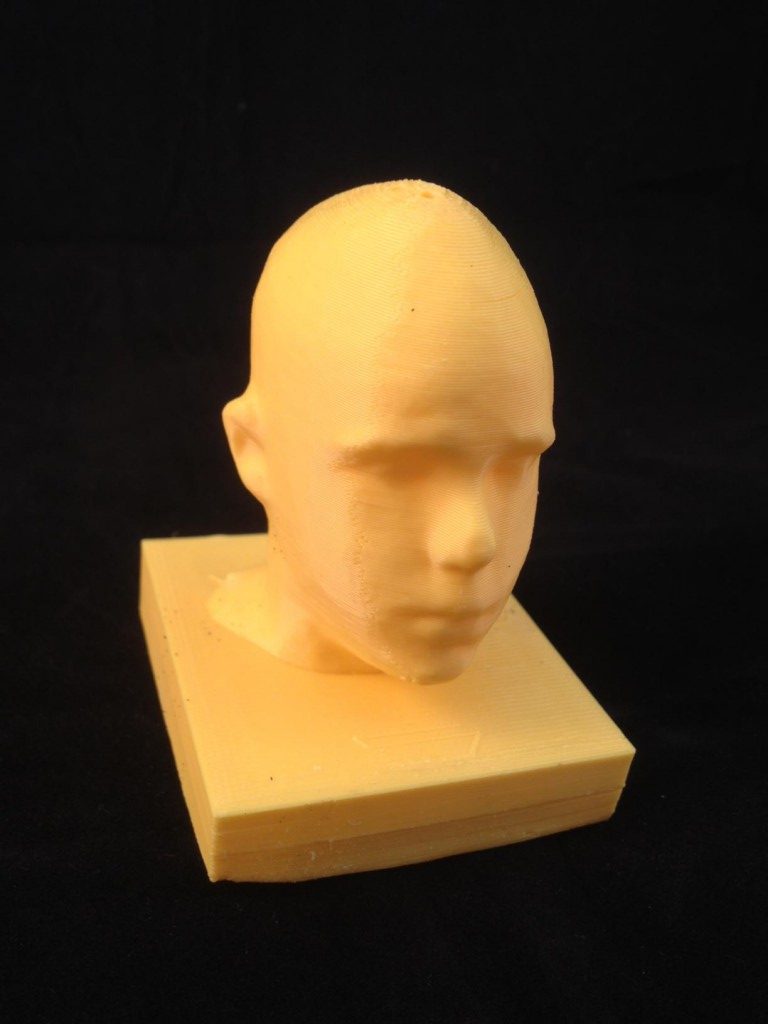
Amazing what you can do with free tools. I made a salt shaker from someone’s head. Here’s how it works:
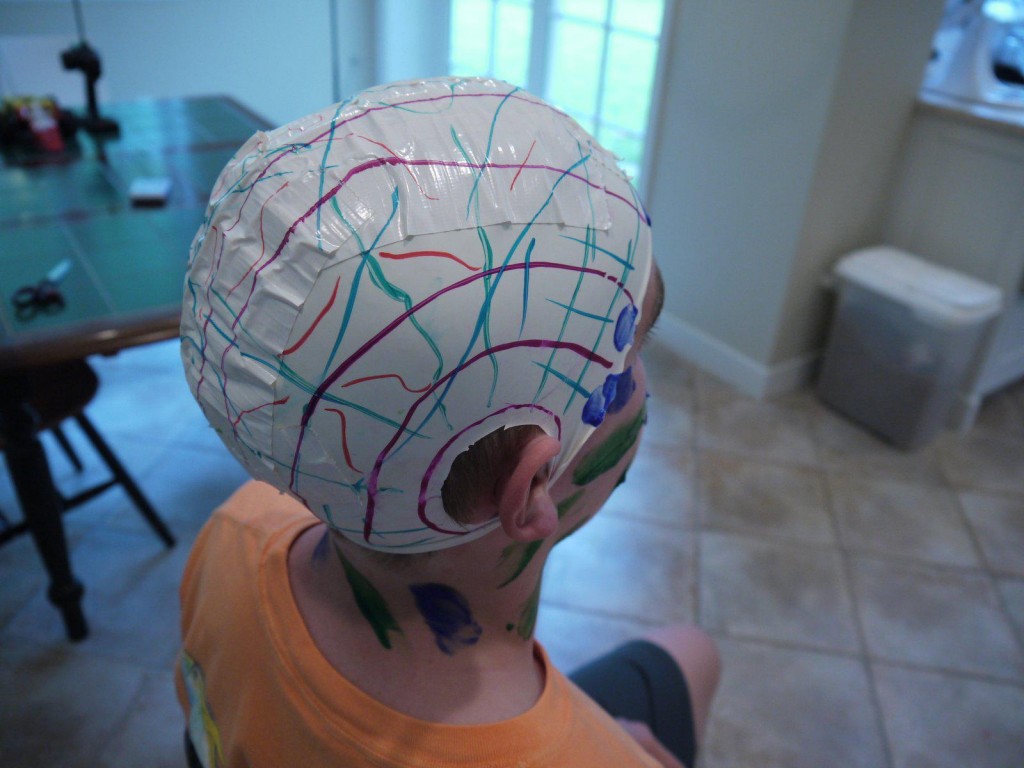
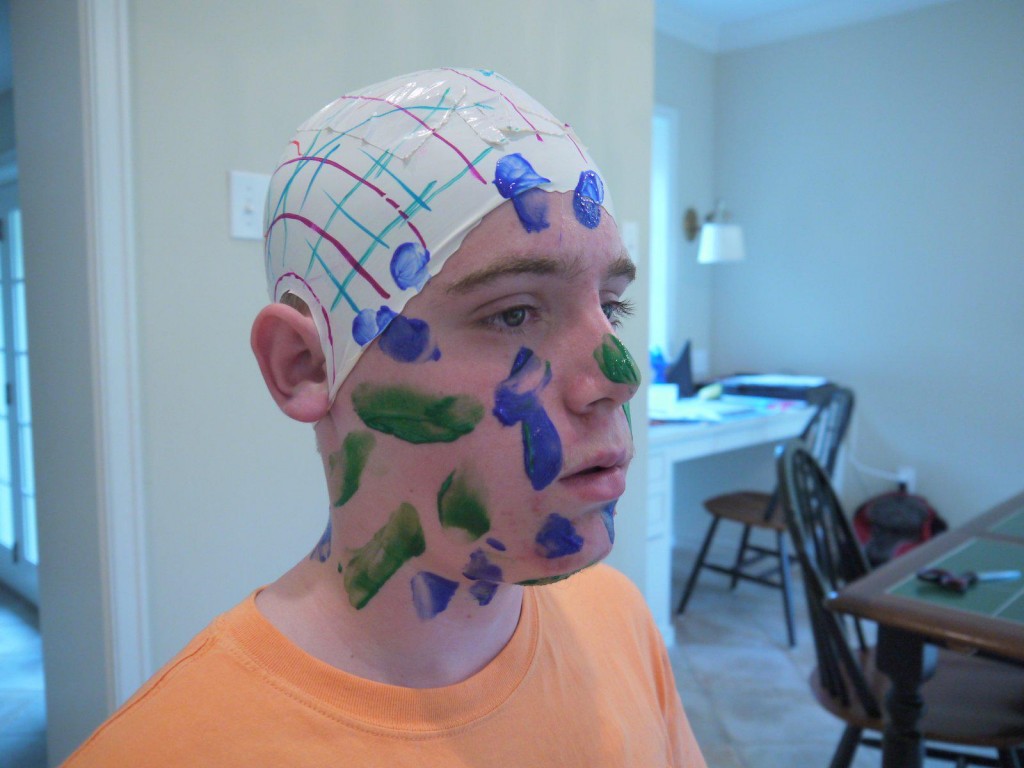
Take 40-50 pictures of someone’s head. The software isn’t good at capturing objects with one color, so you have to paint the face and put on a painted swim cap. Here are a few photos:
Take the photos and upload them to 123D Catch. I had to lighten up the photos and reduce the resolution (there’s a limit on the total size of the pictures that the software will handle). 123D Catch is a free app from Autodesk, the CAD company
Take the time in the 123D Catch app to trim away any of the material from the shoulders. All you need is the neck up.
Then the tough part – figuring out how to get the file out of 123D Catch. What works for me is to send the file to Shapeways. (You’ll need to get a Shapeways account, which is free.) In Shapeways, go into “My Models”, find the model you just captured, and edit it. Click “Allow Downloads”, save the model, and download it. You’ll now have an .stl file of your model.
Next you’ll need to smooth the model (remove any imperfections), add a base, and check that it’s a solid.
If you need to do any smoothing to the file, I like Forger the best. It’s an iPad app (not free, but cheap) that uses intuitive swipe and pinch gestures to smooth a file. I used it to take the ridges out of the top of the head caused by the swim cap. To get the file into Forger, you’ll have to use Meshlab (again, free) to convert the file to .obj format. (This is the only format that Forger recognizes.) Use iTunes to get the file into Forger on the iPad.
Once you have the file you want, you’ll need to add a base. I used sketchup (free, but you have to buy the full version to get the file conversion capabilities you’ll need). You can see some other CAD packages here.
Then, check the file to make sure it’s solid (a 3D print file needs to be a closed surface – e.g., if it was a real object, it would hold water with no leaks.) To check the surface, I use netfabb (free), but another possibility is Magics from Materialise. Once the model’s good, send it to Replicator for slicing and tool path generation, and print.
See below for final result.